futikamba
JF-Expert Member
- Jan 18, 2010
- 243
- 13
Habari zenu wana IS,
Jamani nisaidieni. Napata blue screen error nikiwasha PC yangu.
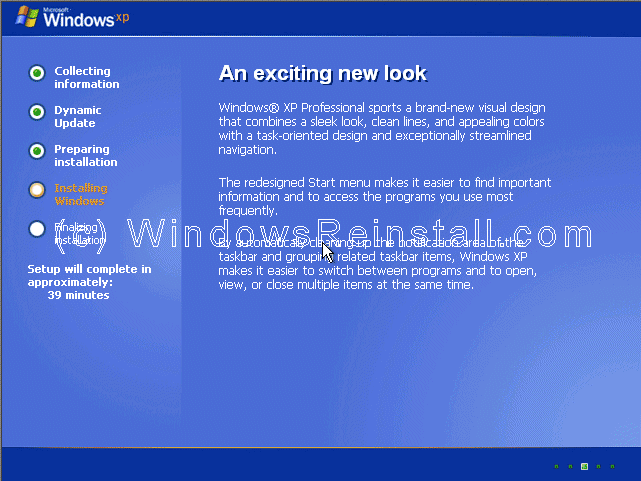
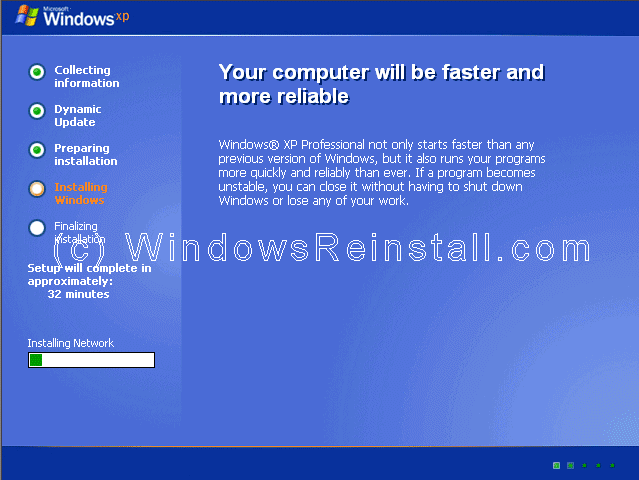
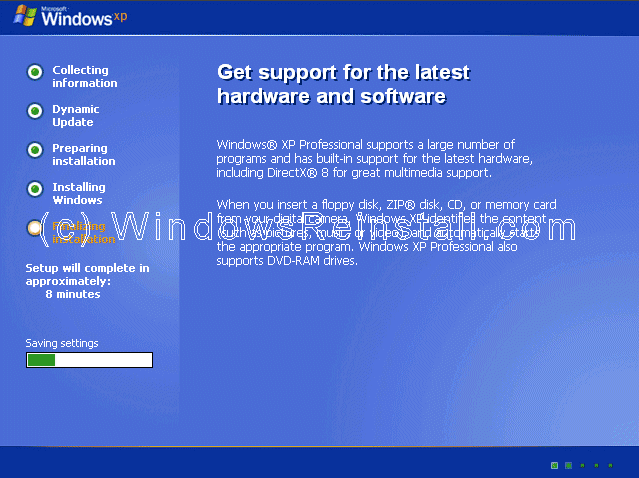
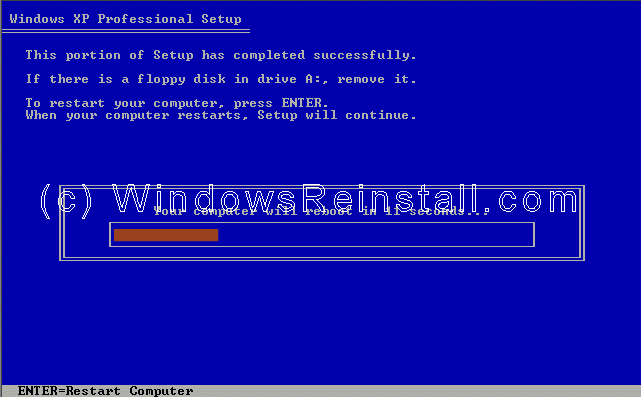
Imetokea hivi: Nimenunua mouse mpya ya USB na kuichomeka kwa PC yangu. Nikawasha PC na ika-detect ile mouse na kuleta ile wizard ya ku-install new hardware, lakini ika-stuck. Nikaisubiri weee but haikuwa ina-respond niki-click mouse ili kuendelea na installation. Basi nikaizima PC manually kwenye shut down button, kwasababu ilikuwa hata ukitumia keyboard hai-respond. Nimefanya hivi kama mara 2 hivi, mara ya tatu naiwasha, inaniletea blue screen. Hiyo blue screen inaniambia kwamba kuna software/hardware sijamaliza kufanyia installation. Kwa hiyo ni reset bios au ni-restart PC kwenye safe mode. Nimejaribu ku-restart PC kwenye safe mode lakini bado inaniletea blue screen of death (BSOD). Tafadhali kama kuna mtu ameshawahi kupatwa na jambo hili anisaidie jinsi alivolitatua.
Mara zote nimesaidiwa hapa kwa shida mbali mbai. Natumai nitapata msaada kwenye hili since hapa ni kwa Ma-Great Thinker.
Natanguliza shukrani
FK
Jamani nisaidieni. Napata blue screen error nikiwasha PC yangu.
Imetokea hivi: Nimenunua mouse mpya ya USB na kuichomeka kwa PC yangu. Nikawasha PC na ika-detect ile mouse na kuleta ile wizard ya ku-install new hardware, lakini ika-stuck. Nikaisubiri weee but haikuwa ina-respond niki-click mouse ili kuendelea na installation. Basi nikaizima PC manually kwenye shut down button, kwasababu ilikuwa hata ukitumia keyboard hai-respond. Nimefanya hivi kama mara 2 hivi, mara ya tatu naiwasha, inaniletea blue screen. Hiyo blue screen inaniambia kwamba kuna software/hardware sijamaliza kufanyia installation. Kwa hiyo ni reset bios au ni-restart PC kwenye safe mode. Nimejaribu ku-restart PC kwenye safe mode lakini bado inaniletea blue screen of death (BSOD). Tafadhali kama kuna mtu ameshawahi kupatwa na jambo hili anisaidie jinsi alivolitatua.
Mara zote nimesaidiwa hapa kwa shida mbali mbai. Natumai nitapata msaada kwenye hili since hapa ni kwa Ma-Great Thinker.
Natanguliza shukrani
FK